Role-Based Access Control
Overview
Section titled “Overview”Role-Based Access Control (RBAC) in DeepIntShield Enterprise provides fine-grained access management for your organization. RBAC allows you to define roles with specific permissions, controlling what users can view, create, update, or delete across all DeepIntShield resources.
Key Benefits:
- Principle of Least Privilege - Grant users only the permissions they need
- Centralized Access Management - Manage all permissions from a single interface
- Audit-Ready - Track who has access to what for compliance requirements
- Flexible Role Design - Use system roles or create custom roles for your organization
RBAC integrates seamlessly with Identity Provider authentication, automatically assigning roles based on your IdP groups and claims.
Roles & Permissions
Section titled “Roles & Permissions”Navigate to Governance → Roles & Permissions in the DeepIntShield dashboard to manage roles.
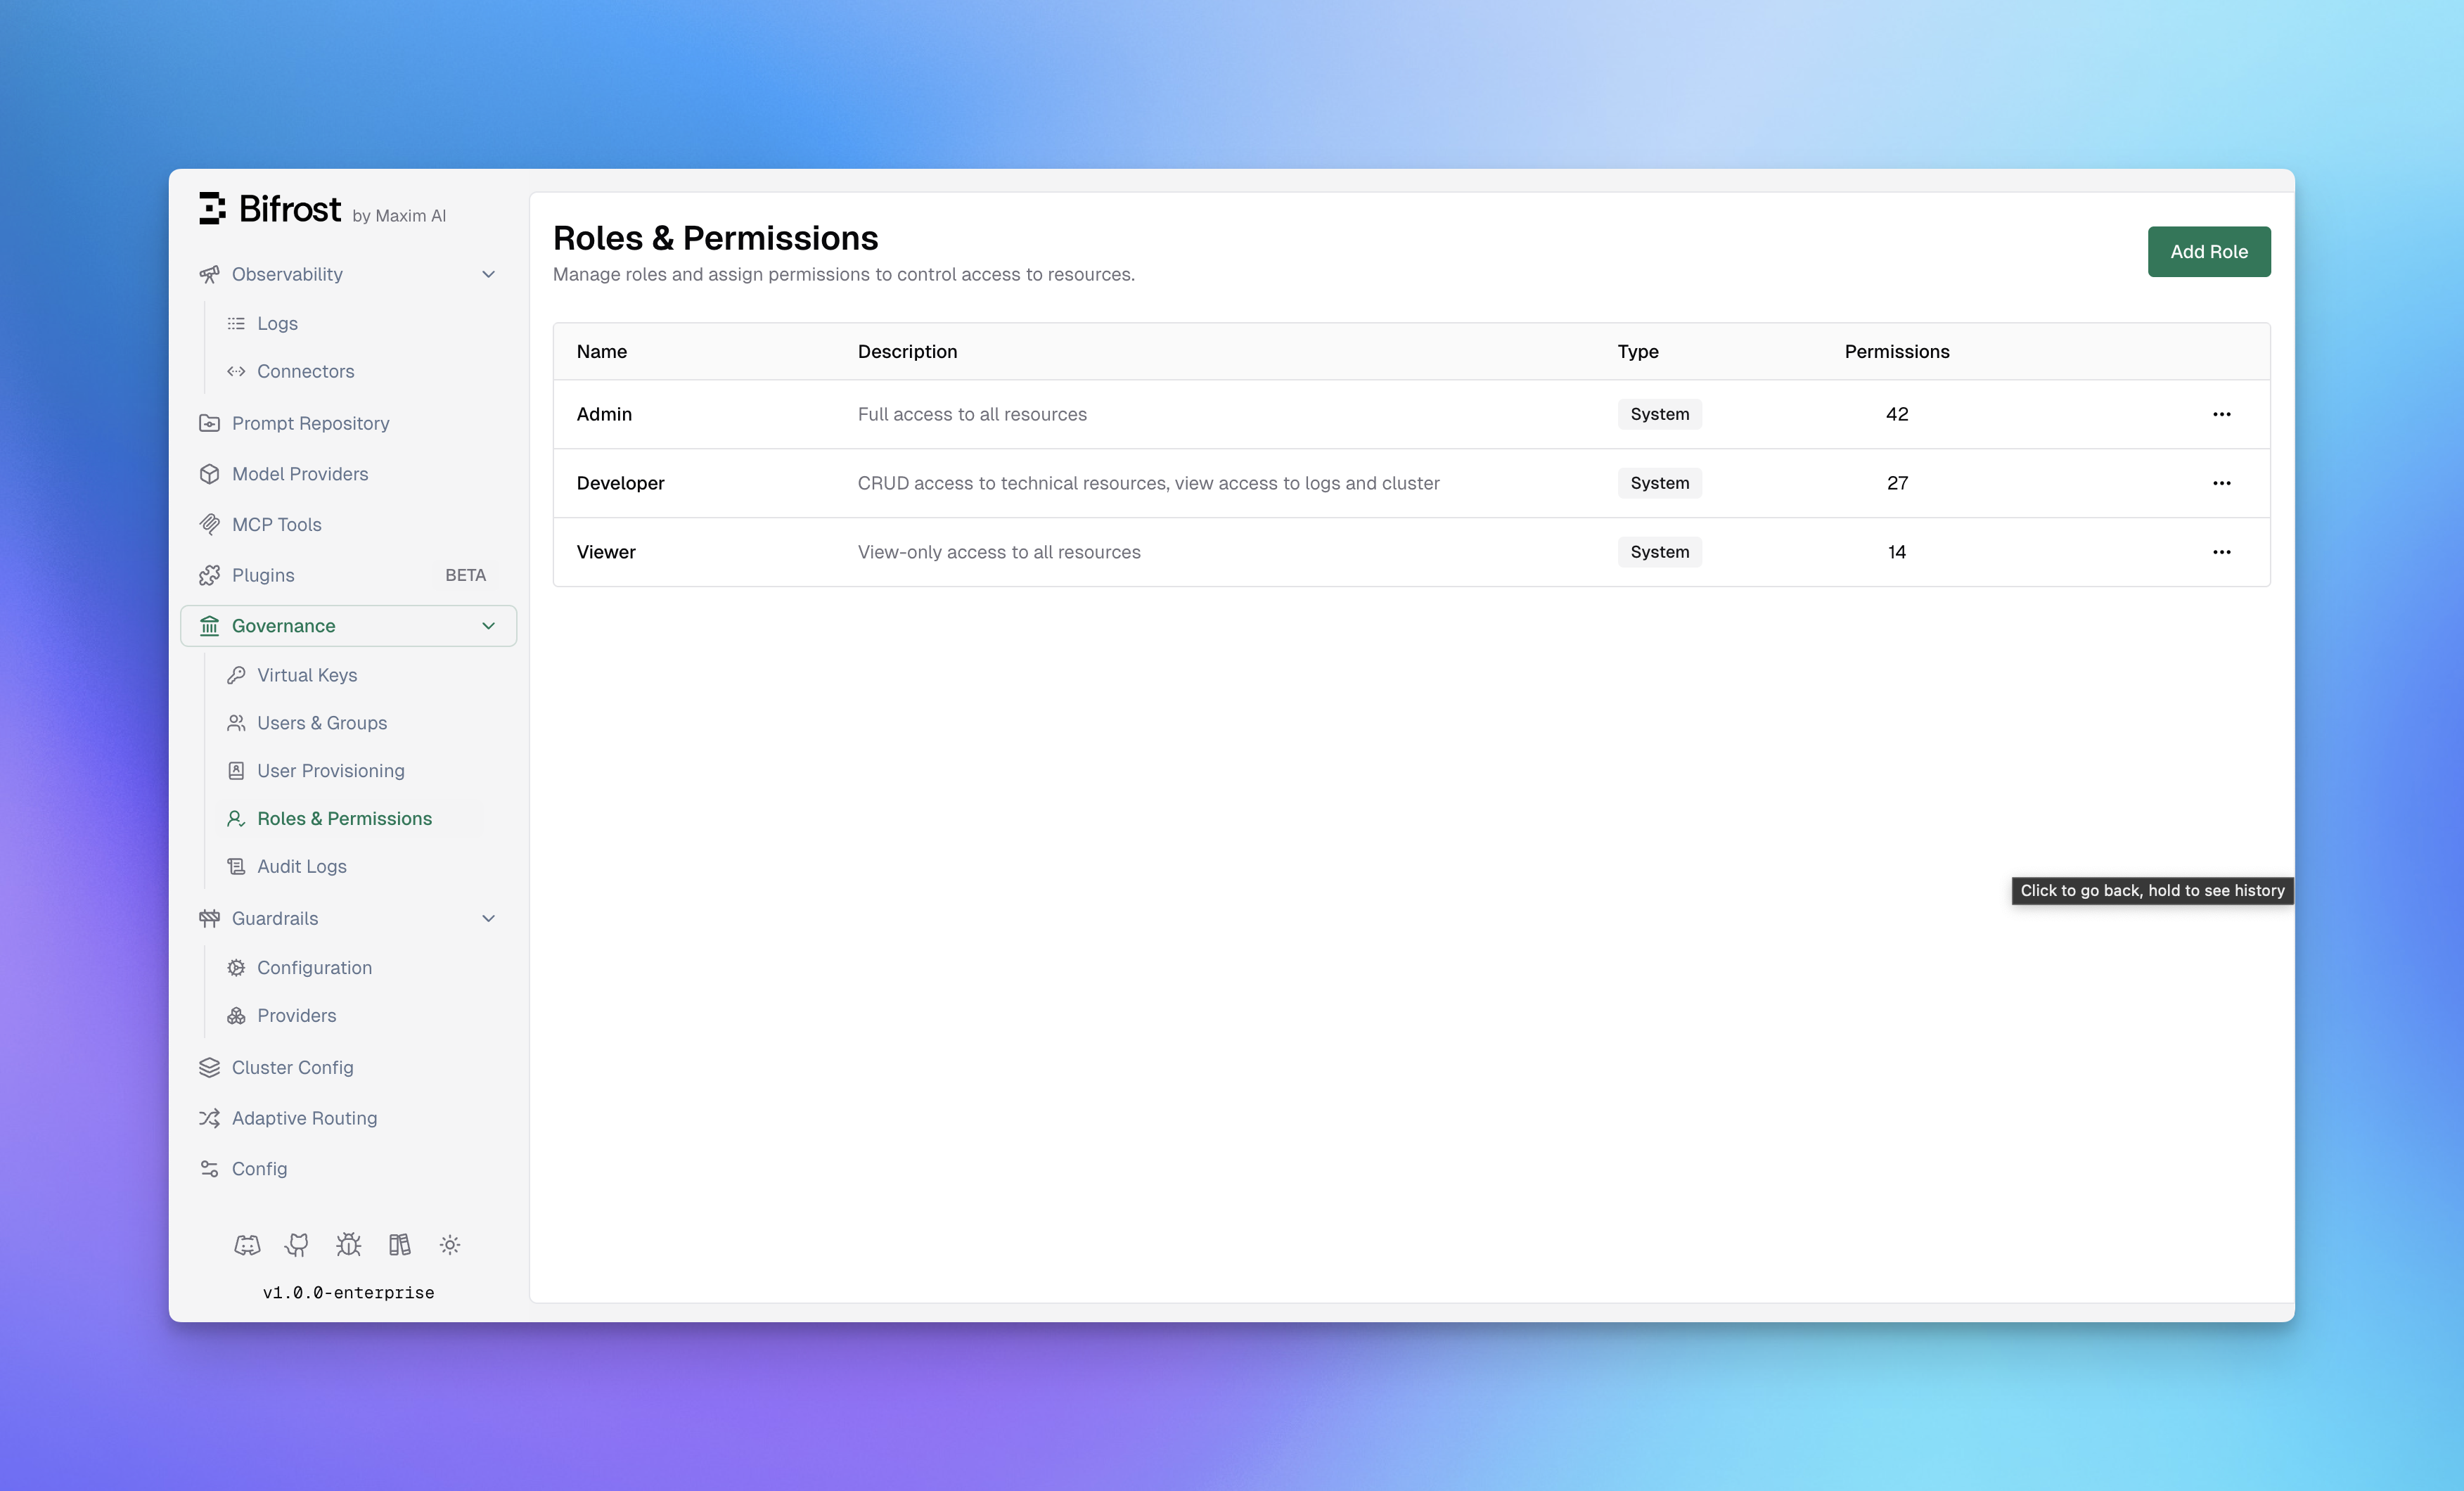
System Roles
Section titled “System Roles”DeepIntShield includes three pre-configured system roles that cover common access patterns:
| Role | Permissions | Description |
|---|---|---|
| Admin | 42 | Full access to all resources and operations |
| Developer | 27 | CRUD access to technical resources, view access to logs and cluster |
| Viewer | 14 | Read-only access to all resources |
System roles cannot be deleted, but their permissions can be customized to fit your organization’s needs.
Custom Roles
Section titled “Custom Roles”Create custom roles when system roles don’t match your organizational structure. Custom roles are useful for:
- Specialized Teams - Create roles for QA, Security, or Compliance teams
- Project-Based Access - Limit access to specific resources per project
- Temporary Access - Grant limited permissions for contractors or auditors
To create a custom role:
- Click Add Role in the top-right corner
- Enter a Role Name (e.g., “Auditor”, “QA Team”)
- Add a Description explaining the role’s purpose
- Click Create Role
- Assign permissions using the Manage Permissions dialog
Resources & Operations
Section titled “Resources & Operations”RBAC permissions are defined as combinations of Resources and Operations.
Protected Resources
Section titled “Protected Resources”DeepIntShield protects access to the following resources:
| Resource | Description |
|---|---|
| Logs | Request and response logs |
| ModelProvider | AI model provider configurations |
| Observability | Monitoring and metrics dashboards |
| Plugins | Plugin configurations and management |
| VirtualKeys | Virtual key management |
| UserProvisioning | User and group provisioning settings |
| Users | User account management |
| AuditLogs | Audit trail and compliance logs |
| GuardrailsConfig | Guardrail configurations |
| GuardrailRules | Individual guardrail rules |
| Cluster | Cluster configuration and nodes |
| Settings | Workspace settings |
| MCPGateway | MCP Gateway configurations |
| AdaptiveRouter | Adaptive routing settings |
Operations
Section titled “Operations”Each resource supports up to four operations:
| Operation | Description |
|---|---|
| View | Read-only access to view the resource |
| Create | Ability to create new instances of the resource |
| Update | Ability to modify existing resources |
| Delete | Ability to remove resources |
Managing Permissions
Section titled “Managing Permissions”To assign or modify permissions for a role:
- Navigate to Governance → Roles & Permissions
- Click the menu icon (•••) on the role you want to modify
- Select Manage Permissions

The Manage Permissions dialog provides a two-panel interface:
Left Panel - Resources:
- Lists all available resources
- Shows the count of enabled permissions per resource (e.g., “4/4 permissions”)
- Click a resource to view its permissions
Right Panel - Permissions:
- Displays available operations for the selected resource
- Toggle switches to enable/disable each permission
- Shows operation descriptions for clarity
Assigning Permissions
Section titled “Assigning Permissions”- Select a Resource from the left panel
- Toggle the operations you want to enable for this role
- Repeat for other resources as needed
- Click Save Permissions to apply changes
The footer shows the total permissions count (e.g., “42 of 42 permissions selected”) to help track the role’s access level.
Best Practices
Section titled “Best Practices”Role Design
Section titled “Role Design”- Start with System Roles - Use Admin, Developer, and Viewer as templates
- Follow Least Privilege - Only grant permissions that are necessary
- Document Role Purpose - Use clear descriptions to explain each role’s intent
- Review Regularly - Audit role assignments quarterly
Permission Strategies
Section titled “Permission Strategies”For Development Teams:
Developer role + specific resource access based on team focus- Frontend team: VirtualKeys (View), Logs (View), Observability (View)- Backend team: ModelProvider (CRUD), Plugins (CRUD), Logs (View)For Security/Compliance Teams:
Custom "Auditor" role with:- AuditLogs (View)- Logs (View)- GuardrailsConfig (View)- Users (View)For Operations Teams:
Custom "Ops" role with:- Cluster (CRUD)- Observability (View)- Logs (View)- Settings (View, Update)Integration with Identity Providers
Section titled “Integration with Identity Providers”When using Okta or Microsoft Entra for authentication, roles can be automatically assigned based on:
- IdP Groups - Map identity provider groups to DeepIntShield roles
- App Roles - Sync application roles from your IdP
- Claims - Use custom claims to determine role assignment
Users authenticated via SSO receive their role assignments automatically on first login, with permissions synchronized on each session.
API Access
Section titled “API Access”Roles and permissions can also be managed via the API:
List all roles:
curl -X GET http://localhost:8080/api/roles \ -H "Authorization: Bearer <admin_token>"Get role permissions:
curl -X GET http://localhost:8080/api/roles/{role_id}/permissions \ -H "Authorization: Bearer <admin_token>"Update role permissions:
curl -X PUT http://localhost:8080/api/roles/{role_id}/permissions \ -H "Authorization: Bearer <admin_token>" \ -H "Content-Type: application/json" \ -d '{ "permission_ids": [1, 2, 3, 4, 5] }'Create a custom role:
curl -X POST http://localhost:8080/api/roles \ -H "Authorization: Bearer <admin_token>" \ -H "Content-Type: application/json" \ -d '{ "name": "Auditor", "description": "Read-only access for compliance auditing" }'Next Steps
Section titled “Next Steps”- Setting up Okta - Configure Okta for SSO with role sync
- Setting up Microsoft Entra - Configure Entra ID for SSO with role sync
- Audit Logs - Track permission usage and access patterns
- Advanced Governance - Learn about the complete governance framework